the con rods, equipped with new bearings:

the balanced crankshaft:

the flywheel, resurfaced and lighter than stock:

first check: main bearings and crank, note the markings on the bearings to allow easier assembly

I chose to use a closed spacer ring, even though this motor will not see excessive rpm's:

new followers - always use new followers with a new cam!

the new Schleicher camshaft 286° - which is the correct duration for this (single carburator) engine

cam bearings installed

cam installed, important check: Is there enough clearance between the cam and the follower?

assembly of gears onto the crankshaft:

the gears and spacer have to be heated to allow them to be installed, it is a press fit

As the distributor drive has to be installed early as well, I modified a 009 "copy" to contactless

step 1: remove points and condenser
step 2: assemble the module with the white heat sink paste on the underside

step 3: route the cables to the outside:

step 4: Damn! the cheap chinese copy distributor has the wiring routed different than the Bosch original part! A rectangular grommet will not fit into a round hole!

This was the routing of the copy...

step 5: snip snip - cut off the crimped ends and remove the rubber piece
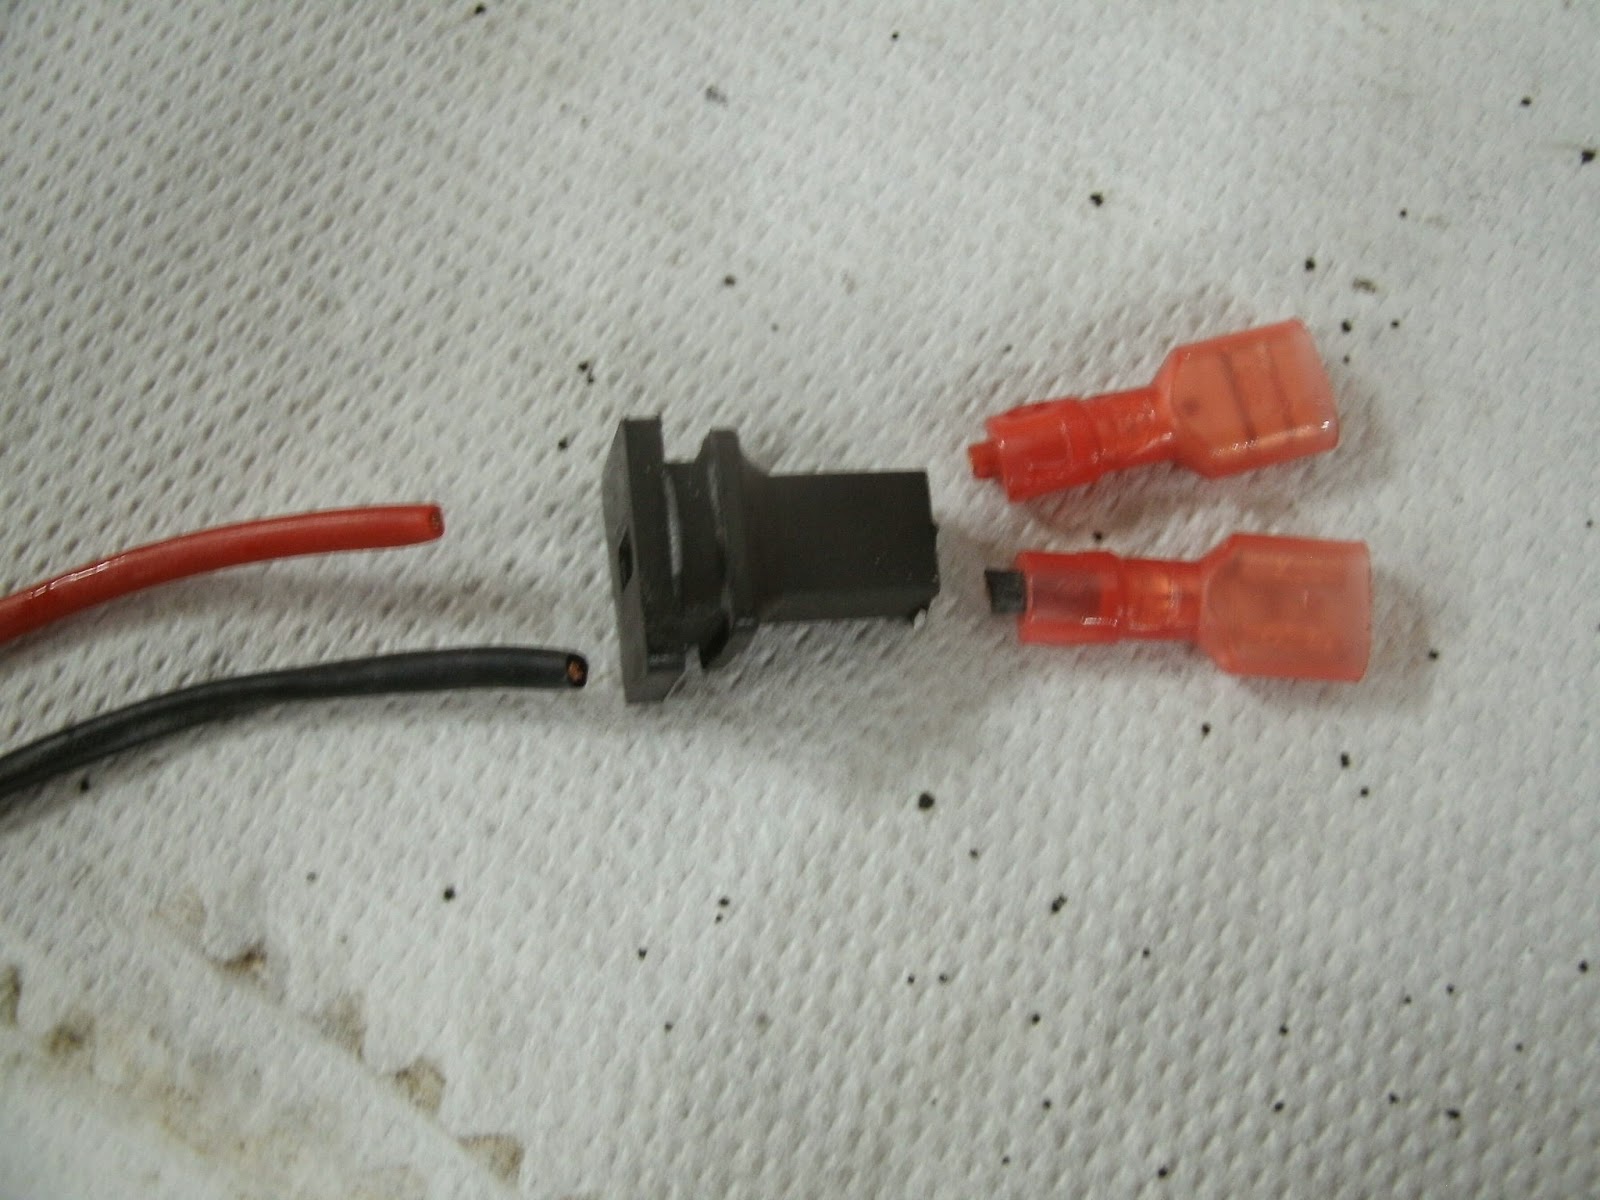
step 6: use some sleeve to protect the wiring and find a round rubber grommet which fits

route the cable inside the dizzy and secure the tubing with zip ties, so it won't interfere with the moving rotor


final step: install the original screw to close the unused thread

Keine Kommentare:
Kommentar veröffentlichen